Ever click on a product and think, “Mmm… hard pass”? Yeah, me too.
I’ve clicked away from so many online shops just because the product photos didn’t give me that “add to cart” feeling.
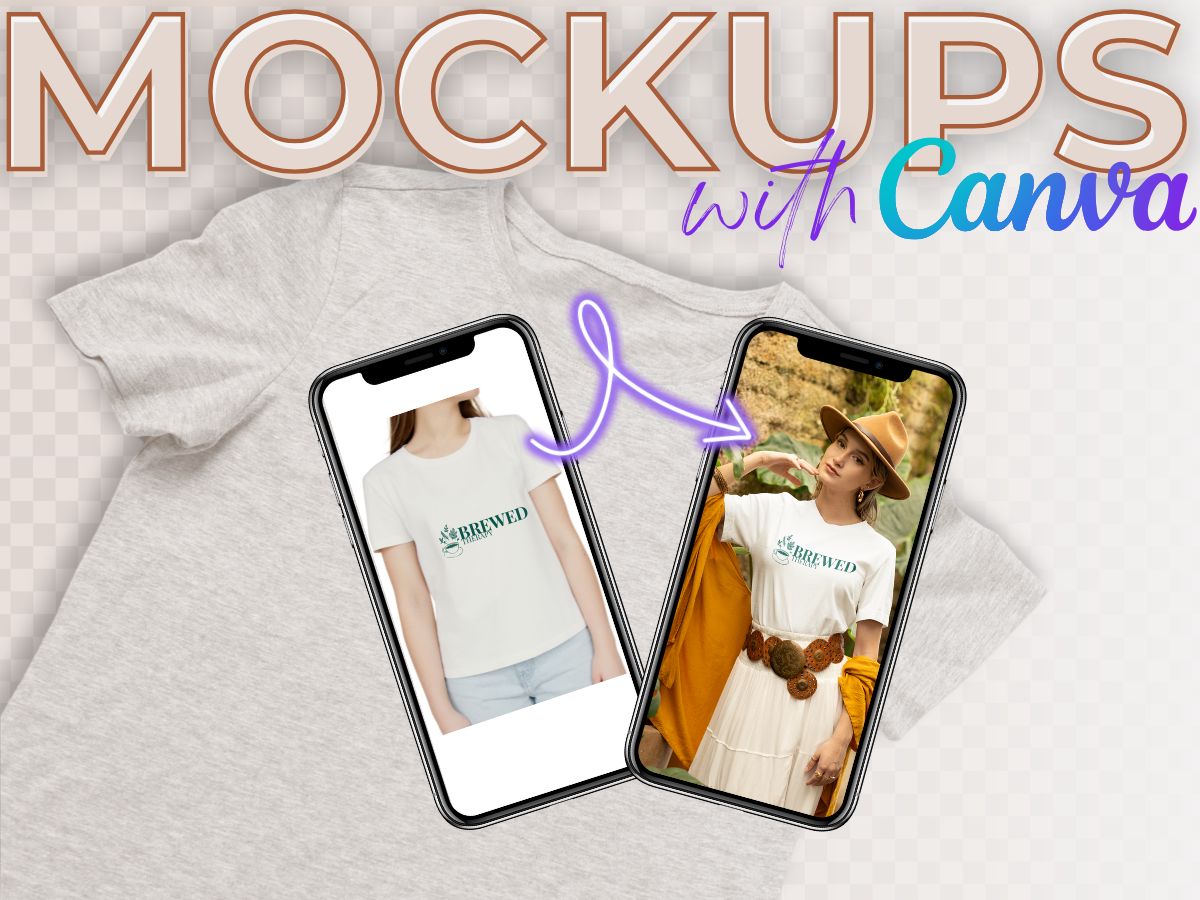
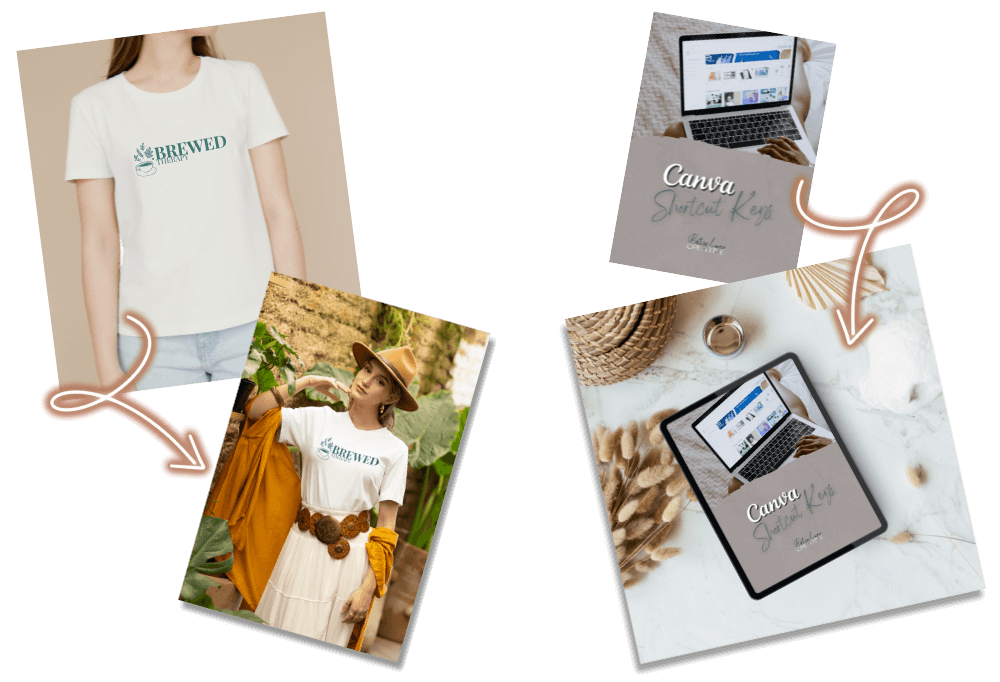
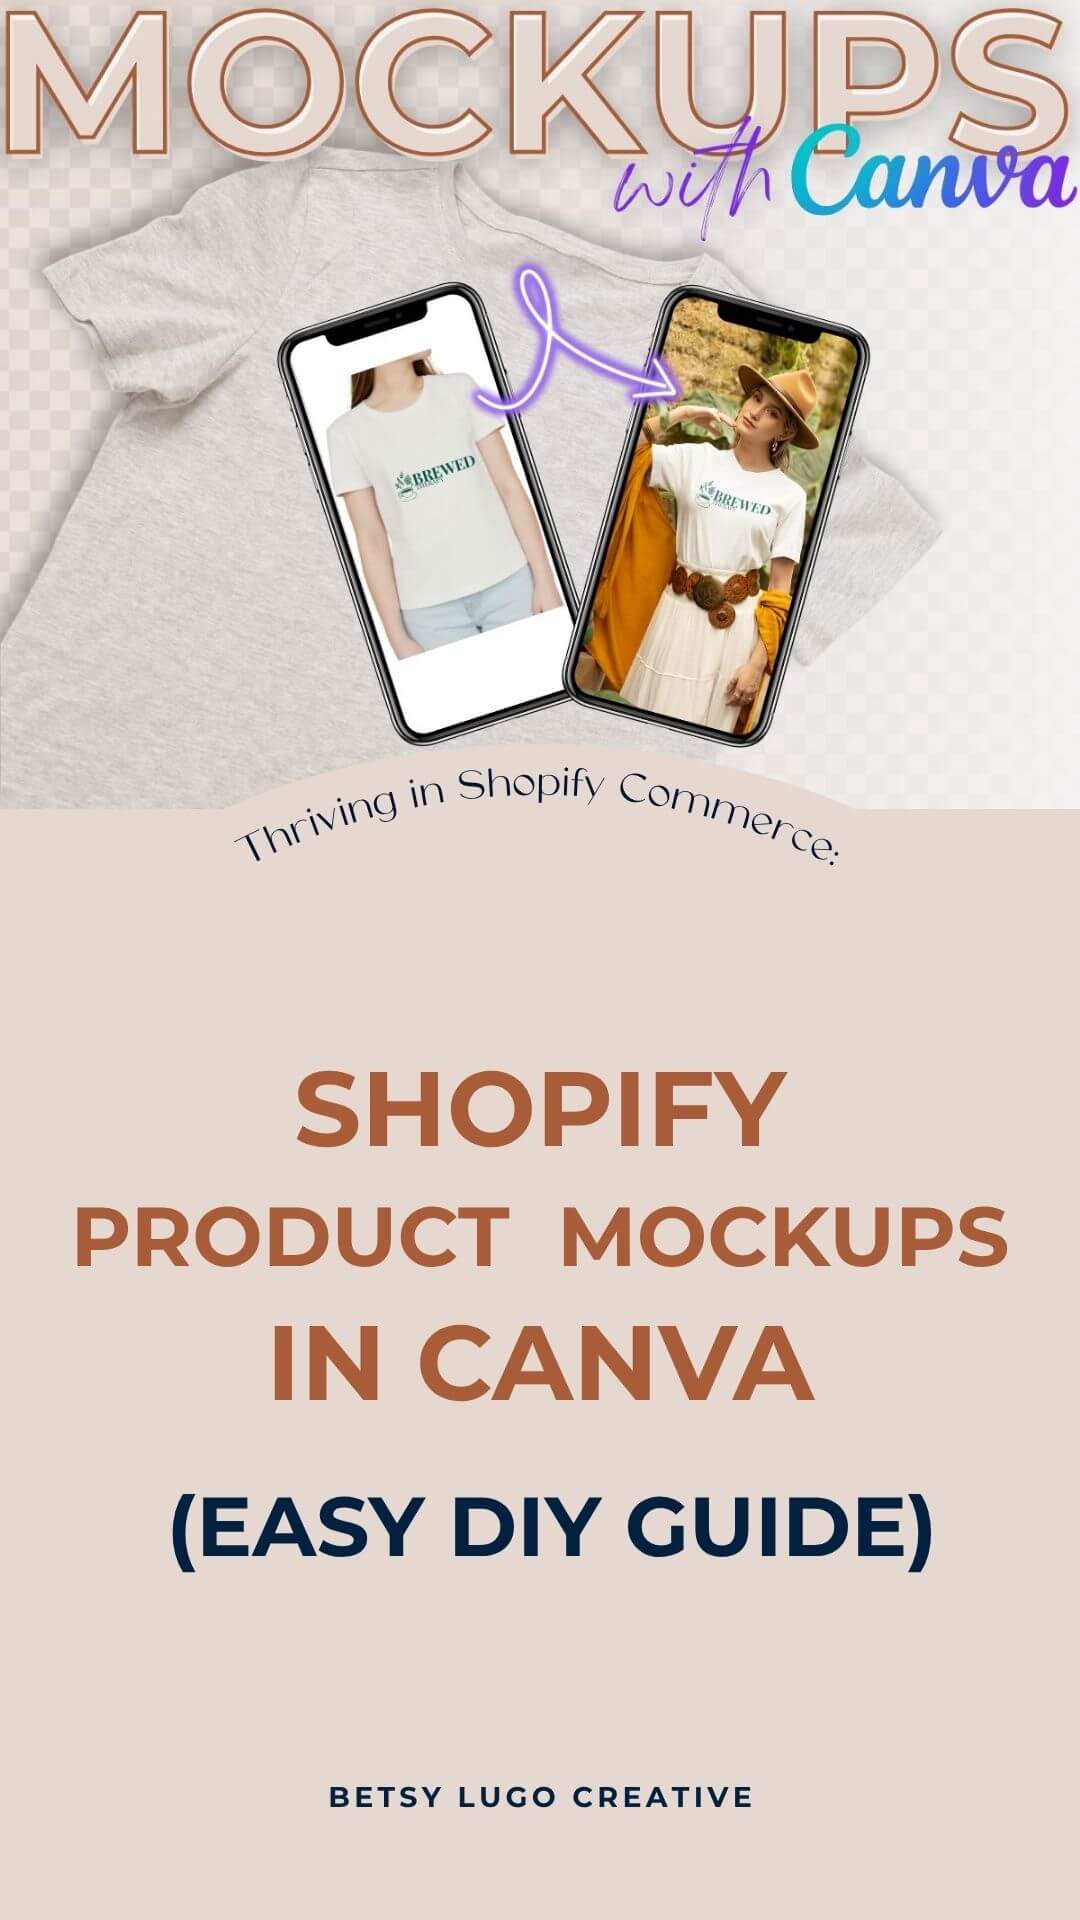
That’s why I’m showing you exactly how to create your own custom product mockups in Canva Pro, even if you’re not a designer.
You can create your own mockups in two ways: You can either use your own images or you can use any of Canva’s free images!
✨ Note: This tutorial uses Canva Pro. If you’d like to follow along, you can try Canva Pro here (affiliate link).
Also, all screenshots and steps you’ll see here are based on Canva on a desktop browser. The mobile app doesn’t always have the same features, so I recommend using the desktop version to follow along step by step.
What Is a Product Mockup and Why It Matters for Online Shops
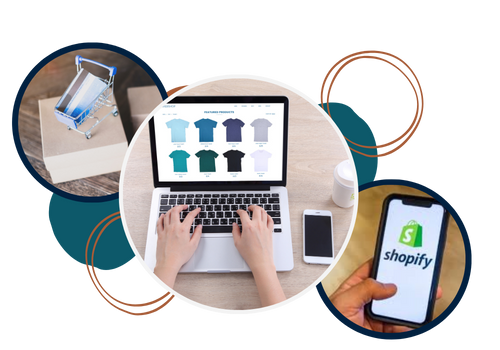
If you’re new to eCommerce, a product mockup are styled images that you can use to showcase your products, it helps customers visualize the product in real life.
For example, you can take a photo of a blank t-shirt or a coffee mug and digitally place your design on it. This helps customers picture the product in their everyday life, which builds trust and makes them more likely to buy.
Mockups are especially useful for digital products. You can display your eBook, course, or digital download on a laptop, phone, or tablet screen.
Bottom line: product mockups give your store a polished, professional look without the cost of a photo shoot.
Because no matter how good your product is, if the images on your website are a little… crappy? No one is going to buy it.
How to Create Product Mockups in Canva Pro (Step-by-Step)
You can use your own photos or Canva’s free stock images to create a mockup. It works either way.
This is perfect if you’ve taken product photos yourself or if you want to use a styled stock image to save time.
Step 1: Upload or Select a Canva Image
- If you’re using your own image, upload it into your Canva design.
- For stock photos, go to the Photos tab in Canva, search a keyword, and filter by Free.
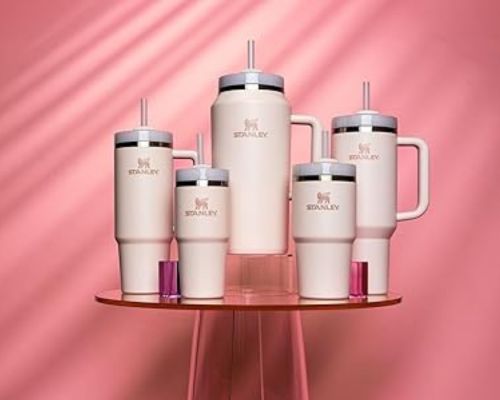
- Look for a photo with a clear product presentation like a phone screen, laptop, mug, or t-shirt.
- Choose an image that reflects your actual product. So no v-necks if you only sell crewnecks. The goal is to help customers imagine your actual product in their life. So the more accurate the mockup image, the more trustworthy and helpful it will be.
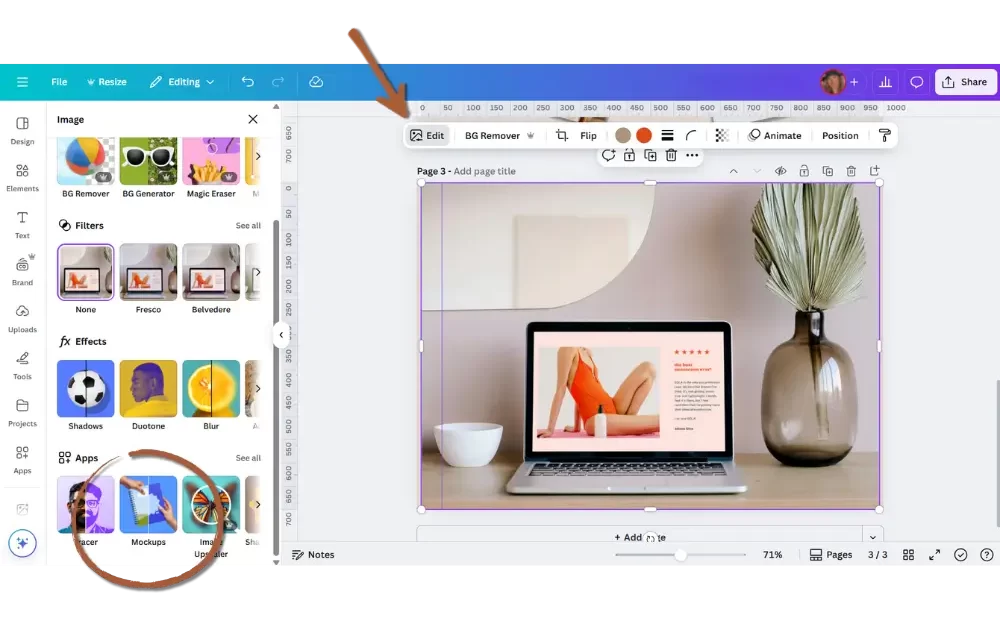
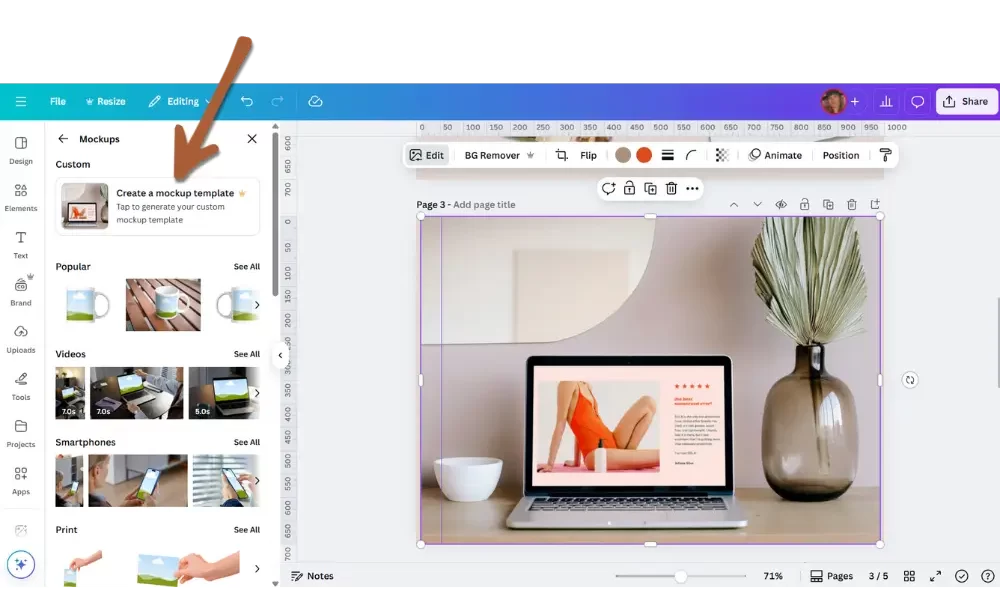
Step 2: Open Canva’s Mockup App
- Click on the image you selected.
- Click Edit photo in the top toolbar.
- Scroll down and click Mockup. If you don’t see it, go to the “Apps” tab and search “Mockup” to activate it.
- Click Create a mockup template
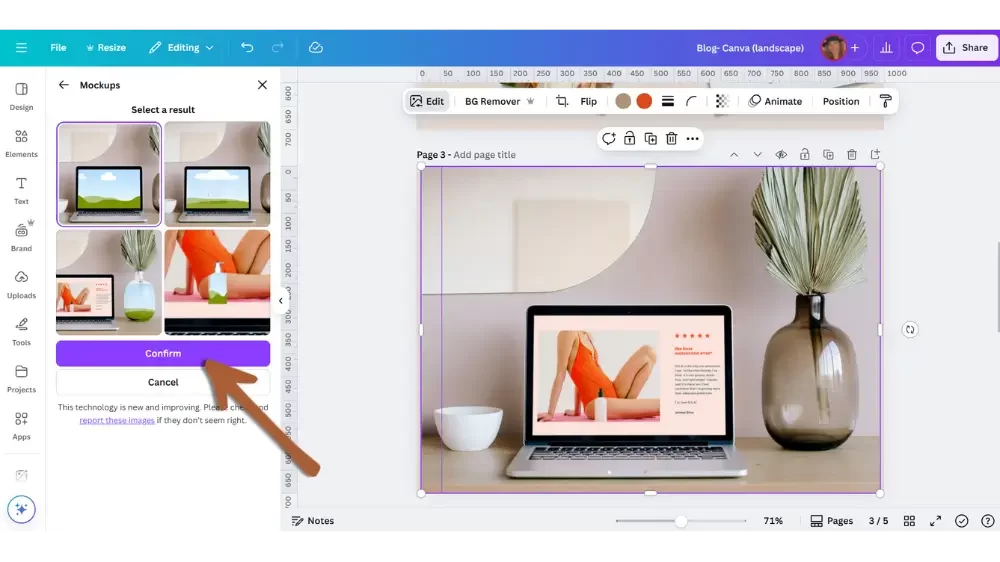
Step 3: Choose the Mockup Zone
- Canva will highlight possible mockup zones.
- Click the one that fits your product, then click Confirm.
Step 4: Add & Position Your Product Design
- Select the design/logo/product you want from the Elements or Image on the left panel and drag it into the image.
- Make the necessary adjustment to make the mockup just right.
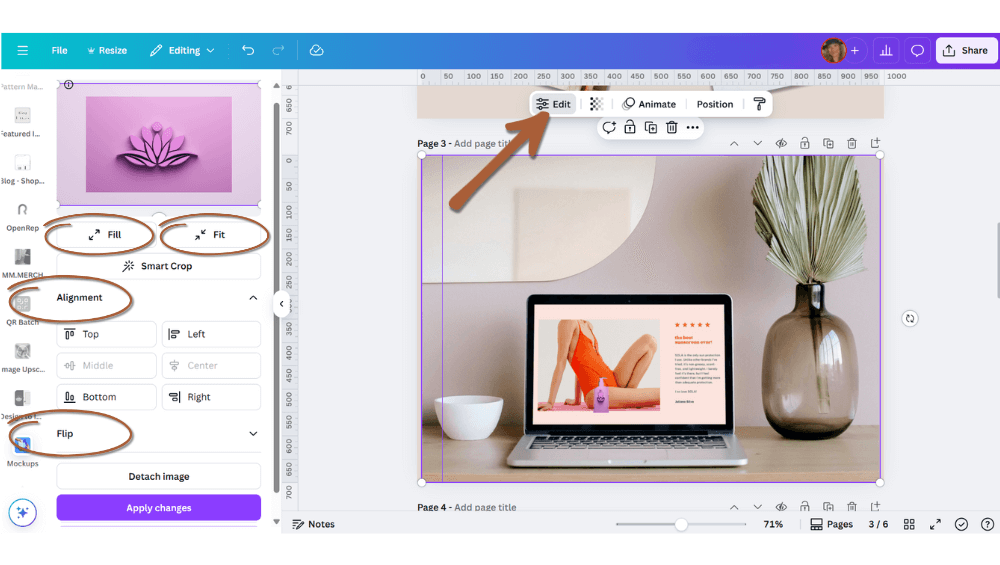
- Select the image and click on Edit
- Click and drag your design to reposition it.
- Resize it using the corner handles until it looks just right.
- Choose between “Fill” or “Fit.”
- Fill stretches your design to cover the entire mockup zone.
- Fit keeps the whole design visible and centers it, even if there’s extra space around it.
- Use the Alignment and Flip to make further adjustments.
Step 5: Final Edits for a Polished Look
- Reposition and resize your design until it looks natural.
- Use the transparency tool, sometimes reducing the design/logo transparency a bit can make all the difference.
Tips for Better Canva Mockups
- Use images with minimal reflections
- Avoid cluttered or overly styled backgrounds
- Make sure your design is high-resolution
- Match mockup styles to your product and audience
Troubleshooting Tip:
If your design doesn’t appear inside the mockup zone simply, click “Edit” and choose “Detach image.” Then add your design back in, you should be good.
Weekly emails for eCommerce shop owners!
Tips, Tricks & Resources to Design, Maintain, and Grow Your eCommerce Store.
How to Export and Optimize Your Mockups
When using mockups on your website, file type matters for image quality and SEO. Canva has several options:
JPEG : Best for product photos, banners, and mockups on your website
PNG: Use if you need a transparent background (e.g. layering mockups)
MP4: Only if you turned your mockup into a video or if it has animation
Compress Images Before Uploading
- Use tools like TinyJPG or Compressor.io to shrink file size without losing quality
- Or reduce the Canva download quality slider a bit before exporting
Faster-loading images help your site rank higher and keep customers from bouncing. I recommend image file sizes less than 500 KB.
Where to Use Your Product Mockups
Mockups aren’t just for product pages. Use them across your business for a consistent, polished look.
Product Pages
Show how your product looks in context, especially helpful for digital and print-on-demand products.
Homepage Banners
Use mockups to spotlight featured products, promos, or seasonal collections.
Email Marketing
Elevate your launch emails, newsletters, and announcements with custom visuals.
Pinterest, Instagram, and TikTok
Mockups grab attention and boost brand consistency on social.
Online Ads
Realistic visuals improve ad performance by building trust and encouraging clicks.
Want to save this for later? 📌 Pin this Canva mockup tutorial to your “Shopify Tips” or “Product Photography” board!
Want More Sales? Start With Better Visuals
If photography isn’t your strong suit, mockups are the next best thing. They’re perfect for sellers launching on a budget, dropshippers, or anyone needing a quick visual upgrade.
But remember, mockups are just the start. Your whole store needs to work together visually.
Mockups make your products shine, but if your website doesn’t match that same level of polish, you’re still leaving sales on the table.
👉 Website Audit and let’s get your site working with your visuals, not against them.
Wrap-Up: Canva Mockups Made Easy
You don’t need expensive tools or a design degree to make your products shine. Canva Pro gives you everything you need to create branded, beautiful mockups that help your products stand out quick and easy.
Here’s a recap of what we covered:
- What product mockups are and why they matter
- Step-by-step tutorial to create mockups in Canva Pro
- Tips for better mockup results
- How to optimize mockups for your website
- Where to use them for more impact
Resources:
- Download the Canva Shortcut Keys Freebie
- Try Canva Pro (new users receive a 30 day free trial)
- Book your Website Audit Consult
Now go make something beautiful. You got this.